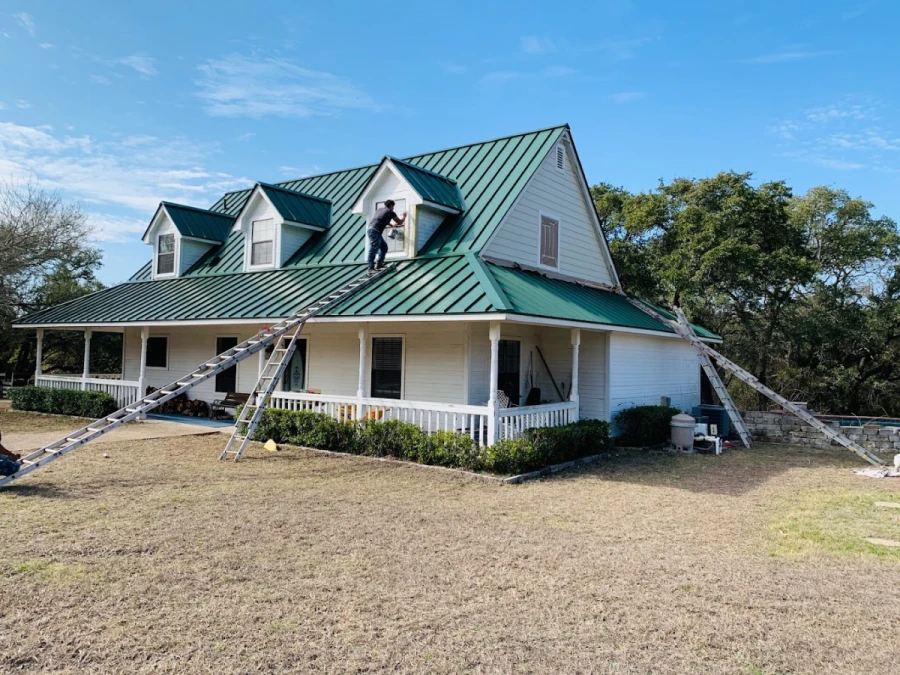
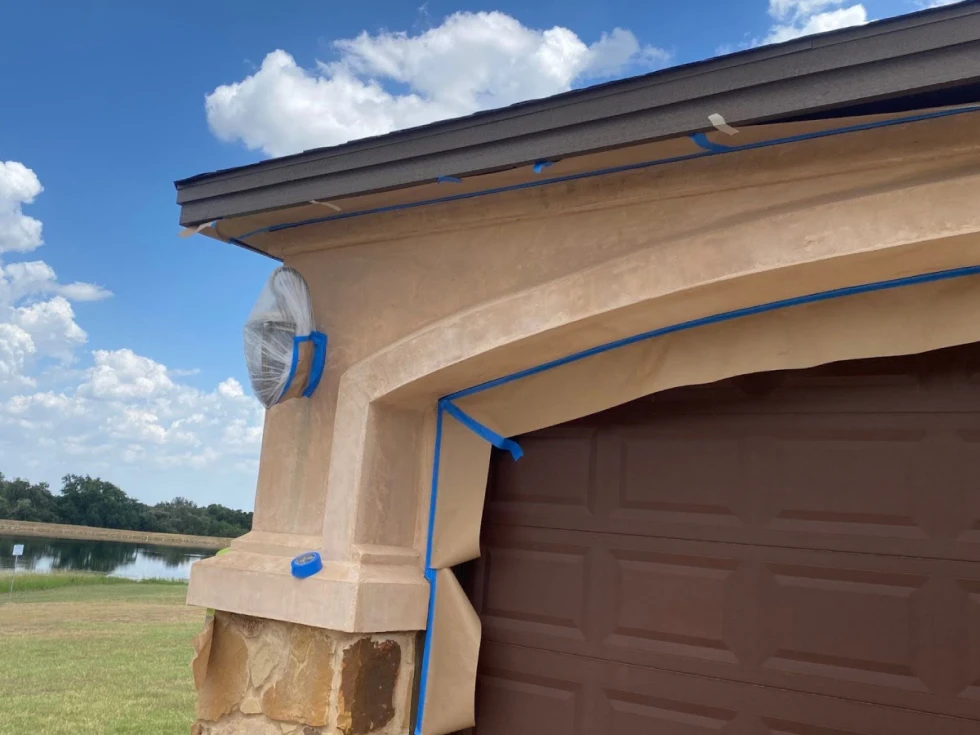
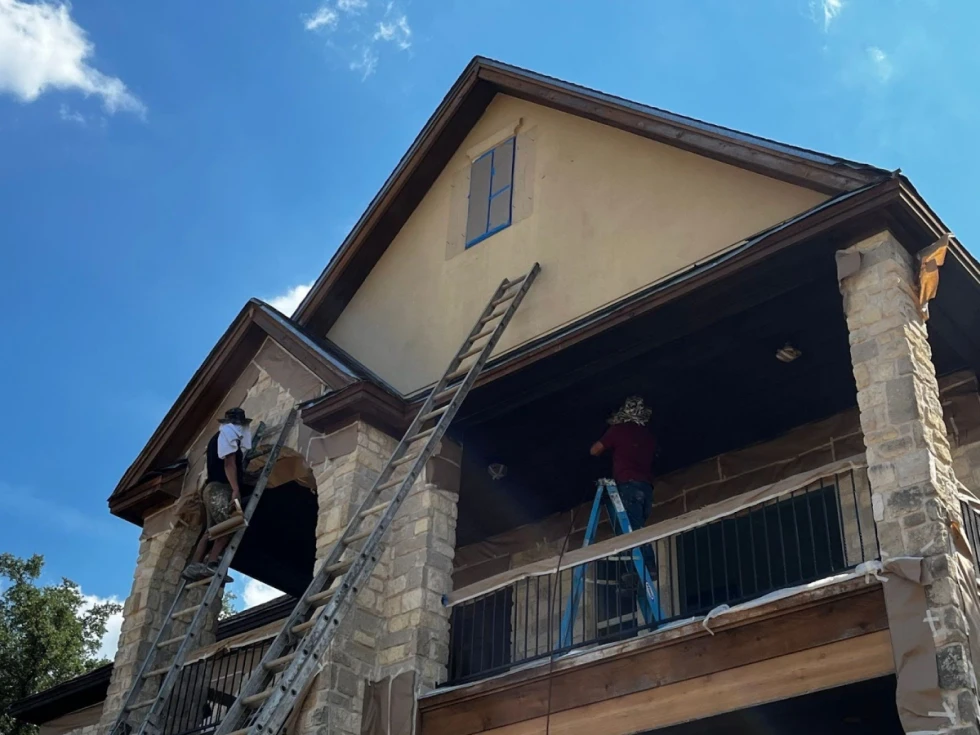
Painting tape may seem like a small detail, but it has a huge impact on the quality of the final product. Proper use of tape creates clean, sharp lines and prevents paint from bleeding onto any adjacent surfaces. At Ark Roofer, we 1000% know the importance of quality tape and line application techniques that give professional-grade results.
The Secret to Clean, Sharp Lines with Your Paint
When it comes to painting, even the smallest detail can make a big difference in the final result. Proper painting tape creates crisp, straight edges, giving your project a polished, professional appearance. Without quality tape, paint can bleed through or leave jagged edges, compromising the look. Whether you’re painting walls, trim, or designs, using the right tape (and applying it correctly) makes all the difference!
The Importance of Choosing the Right Tape for the Job
Not all tape is the same. General masking tape may work for some DIY projects, but it often doesn’t provide the clean lines and paint resistance needed for professional results. Specialized painter’s tape, designed to resist bleeding and adhere firmly without damaging surfaces, is very important in making sure you get the best results!
Types of Painter’s Tape & How To Choose The Right Type
Painter’s tape comes in a variety of types, each with unique qualities designed for specific surfaces, textures, and paint types. At Ark Roofer, we select tape that fits the project requirements, ensuring optimal adhesion and clean removal.
Delicate Surface Tape for Walls and Trim
Delicate surface tape is ideal for use on walls, freshly painted surfaces, and trim. It adheres well but removes cleanly without damaging paint. This tape is particularly useful when working on recently painted walls where you want to avoid lifting the paint.
High-Adhesion Tape for Textured Surfaces
When dealing with textured surfaces like stucco or brick, high-adhesion tape is essential. Standard tape may lift or allow paint to bleed on these rough surfaces, but high-adhesion tape clings tightly, ensuring a clean line even on uneven textures.
Outdoor Painter’s Tape for Exterior Projects
Outdoor painter’s tape is designed to withstand weather conditions like heat, cold, and moisture, making it perfect for exterior painting jobs. It adheres securely but removes cleanly, making sure your outdoor project has the same sharp edges as an indoor one.

Applying Paint Tape: Techniques for Professional Results
Getting a perfect line requires more than just slapping tape on a surface. Precise application ensures that the tape sticks properly, blocks out paint, and peels off without disrupting the finish. At Ark Roofer, we follow these techniques to get best results.
Start with a Clean Surface
Before applying tape, we clean the surface to remove dust, dirt, or grease. Even a tiny bit of dust can prevent the tape from sticking fully, leading to paint bleeding under the tape. A quick wipe down with a dry or slightly damp cloth can make all the difference.
Firmly Press the Tape for a Tight Seal
After placing the tape, we press down along the edge to create a tight seal. A secure bond prevents paint from seeping under the tape, especially on rougher surfaces or around corners. For long, straight lines, using a putty knife to press the tape can enhance adhesion and ensure a clean line.
Remove Tape at the Right Time and Angle
Timing and technique are key when removing tape. For the best results, we remove the tape while the paint is still slightly damp, pulling it back at a 45-degree angle. This approach keeps paint from peeling with the tape, leaving you with a sharp, clean line.
Common Mistakes to Avoid When Using Painter’s Tape
Using painter’s tape seems easy, but there are mistakes that can ruin an otherwise perfect paint job. Avoiding these mistakes helps you get the finish you want.
Mistake #1: Using the Wrong Tape
Using general masking tape instead of painter’s tape may save a few cents, but it often leaves behind sticky residue & uneven lines. Choosing the right tape for the surface and conditions should be at the top of the priority’s list when looking to get a clean look!
Mistake #2: Skipping the Seal
Placing tape along the edge isn’t enough. Pressing it down firmly to seal it is important to prevent paint from leaking. Skipping this is one of the main causes of paint bleed.
Mistake #3: Waiting Too Long to Remove Tape
Leaving tape on until the paint is 100% dry can lead to peeling paint when it’s removed. By taking off the tape while the paint is still tacky, you’ll get a smooth, tear-free line.

How Ark Roofer Achieves Professional Results with Painter’s Tape
At Ark Roofer, we believe that excellence is in the details. By choosing the right tape, following meticulous application techniques, and understanding the nuances of each surface, we deliver clean, professional results that stand out.
Our Dedication to Quality and Precision
From prepping the surface to the final peel, we handle every part of the painting process with precision. Our painters are trained to execute each step with care, ensuring a professional outcome that adds value and beauty to your home or property.
Provider Service Area
Taking project requests in and around Austin
San Marcos, TX

Contact Us for Exterior Painting in the Greater Austin Area!
While it may seem like a minor detail, painter’s tape plays a major role in the quality of your paint job. By using the right tape and applying it with care, Ark Roofer ensures clean, crisp lines and a professional finish that transforms any space. Contact us today to learn more about how we use the best products to create results you’ll love.


