Our Roof Replacement Process Walkthrough
Your Trusted Roofing Partner Since 2018

Reliability At
Every
Step
- Remain Informed
- Minimal Disruptions
- Long-Term Assurance

How
WeDoIt
The day or so before we begin, a few things to help the process go smoothly.
• Mow Your Yard. This will help our quality control managers with their lawn magnets to catch as many nails, staples, and other metallic debris after the work is completed.
• Remove Vehicles From the Garage And Driveway. The day before your job is scheduled to begin, we will drop off all the materials for your job usually in the driveway to give our crews easy access to load the materials onto the roof.
• Remove Or Cover Exterior Accessories. Protect your outdoor items from falling debris such as landscape lighting, small potted plants, etc.
• Remove Fragile Items Hanging On Your Walls. The vibrations from our crew on the roof can cause items to rattle and fall from your walls.
• Make Arrangements For Your Pets. The process is very loud and could cause your pets to get frightened. Make sure they are safely secure or boarded.
Our Setup
Roof materials are typically delivered the day before your job is scheduled to begin, so that when the crew arrives, they can get immediately get to work.
The day of your build, we protect your home exterior, landscape, and pool:
• Mesh Tarps And Tents. We aim to protect your landscaping, garage doors, AC units, and other sensitive areas of your home’s exterior to mitigate against any collateral damage from falling debris.
• Pool Tarp. If you have a pool, we completely tarp to ensure no nails or staples fall in, which could lead to serious and expensive contamination issues.
• Shaded Tent. Particularly during the hotter months, our crews will have a shaded tent somewhere nearby to have a cool spot to drink, eat, and take a quick break from the brutal Central Texas heat.
What To Expect
The tear-off stage is the messiest and loudest part of the process. But this is because we are stripping your roof down to the bare plywood decking.
Even with tarps laid out to catch debris, your yard is guaranteed to look a mess.
If you’re inside, it is going to be loud.
What We Do
During this stage, we remove:
Gutters – Removing the gutters system ensures that we can properly install your new roofing system according to industry and manufacturer standards.
Solar Panels – If you have solar panels, our team can safely remove and store your solar panels before installation, and then reinstall them according to their original orientation.
Additional Roof Components – Vents, attic fans, flashings, or any other component that will prevent proper installation will be safely removed and stored.
Existing Roofing System – Once all components have been removed, the next thing is to remove the existing roofing system.
Felt underlayment – Beneath your roofing system will be felt underlayment. Depending on prior roofing installations, there may be multiple layers of felt. We remove all layers down to the bare plywood decking.
Chances are we will find rotten plywood decking which is why we always plan to replace up to the three plywood sheets as a courtesy to you!
Owens Corning® WeatherLock® Mat Ice & Water Barrier – One of the most durable waterproof barriers on the market. We install at the most vulnerable parts of your roof to ensure maximum water-tightness, such as valleys and around flashings.
Owens Corning® ProArmor® Synthetic Roof Underlayment – As opposed to standard felt underlayment, our synthetic sheets are designed to provide greater moisture protection and are far more resistant to tearing.
Custom Fabricated Flashings And Drip Edge – Metal flashing around components and the drip edge are installed with the underlayment according to all manufacturer standards to ensure maximum protection against wind-driven rains.
Owens Corning® Starter Strip Plus Shingle (for shingle roofing systems) – Before we begin laying down the shingles, this starter strip is securely adhered along the edge of the roof with the bonded strength to withstand up to 110 mph winds.
New Roof System Installation – Once we have ensured that the base of your roofing system is fully secured, we can finally fully install your new roof!
Ridge Caps And Vents – The final step! For shingle roofing systems we cap your roof with your choice of Owens Corning® Hip & Ridge shingles. For metal systems, the roof is capped off with tailored hip and ridge flashings.
Solar Panel Resetting (if necessary) – If your roof required the detaching of any solar panels, we wait until the roof is 100% complete before re-installing.
What’s Left To Do
Although the new roof installation may be complete, there is still more to do before we call the job done.
Clean Up – Once off the roof, we take great care to pick up tarp-caught debris, remove all the additional tarps and nets, as well as to pick up as much smaller, yet visible, debris.
Leftover Materials And Pick-Up – Our crews will store any leftover materials, usually up the driveway. Within a day or so, one of our quality control managers, or your Ark roofing consultant, will be by to pick it all up.
Quality Control Inspection And Punchlist – Within a few days of the installation one of our quality control managers will return to your property to conduct a full post-job inspection to ensure that all components were installed correctly, determine if there are any outstanding issues, and to magnet sweep your yard again to catch any nails or staples that were missed or hidden during the initial clean-up. Our QC team will compile a punchlist for everything they find that needs to be remedied before we finalize out your project.
Final QC Inspection And Walkthrough – Once the punchlist items have been completed, we invite you to walk around your property with us for a final inspection.
What To Expect
Final Insurance Supplements And Depreciation – If your roof was replaced through a homeowner’s insurance claim, our estimations team will ensure that any supplements and depreciation payouts are closed.
Final Invoice – For any outstanding balances, our invoicing specialists will send you a convenient ACH link for final payments.
Warranty Registration – Next, we will set up all of your manufacturer warranties so that your new roof is set with long-term protection.
Certificate of Completion – At last, once the final invoice has been paid and your warranties have been registered, all that is left is to provide you with your official Ark Certificate of Completion.
Proud to be recognized by Owens Corning®️ as a 2025 Top Performer & Product Excellence Award Winner.

Watch Our Detailed Roofing Replacement
Walkthrough
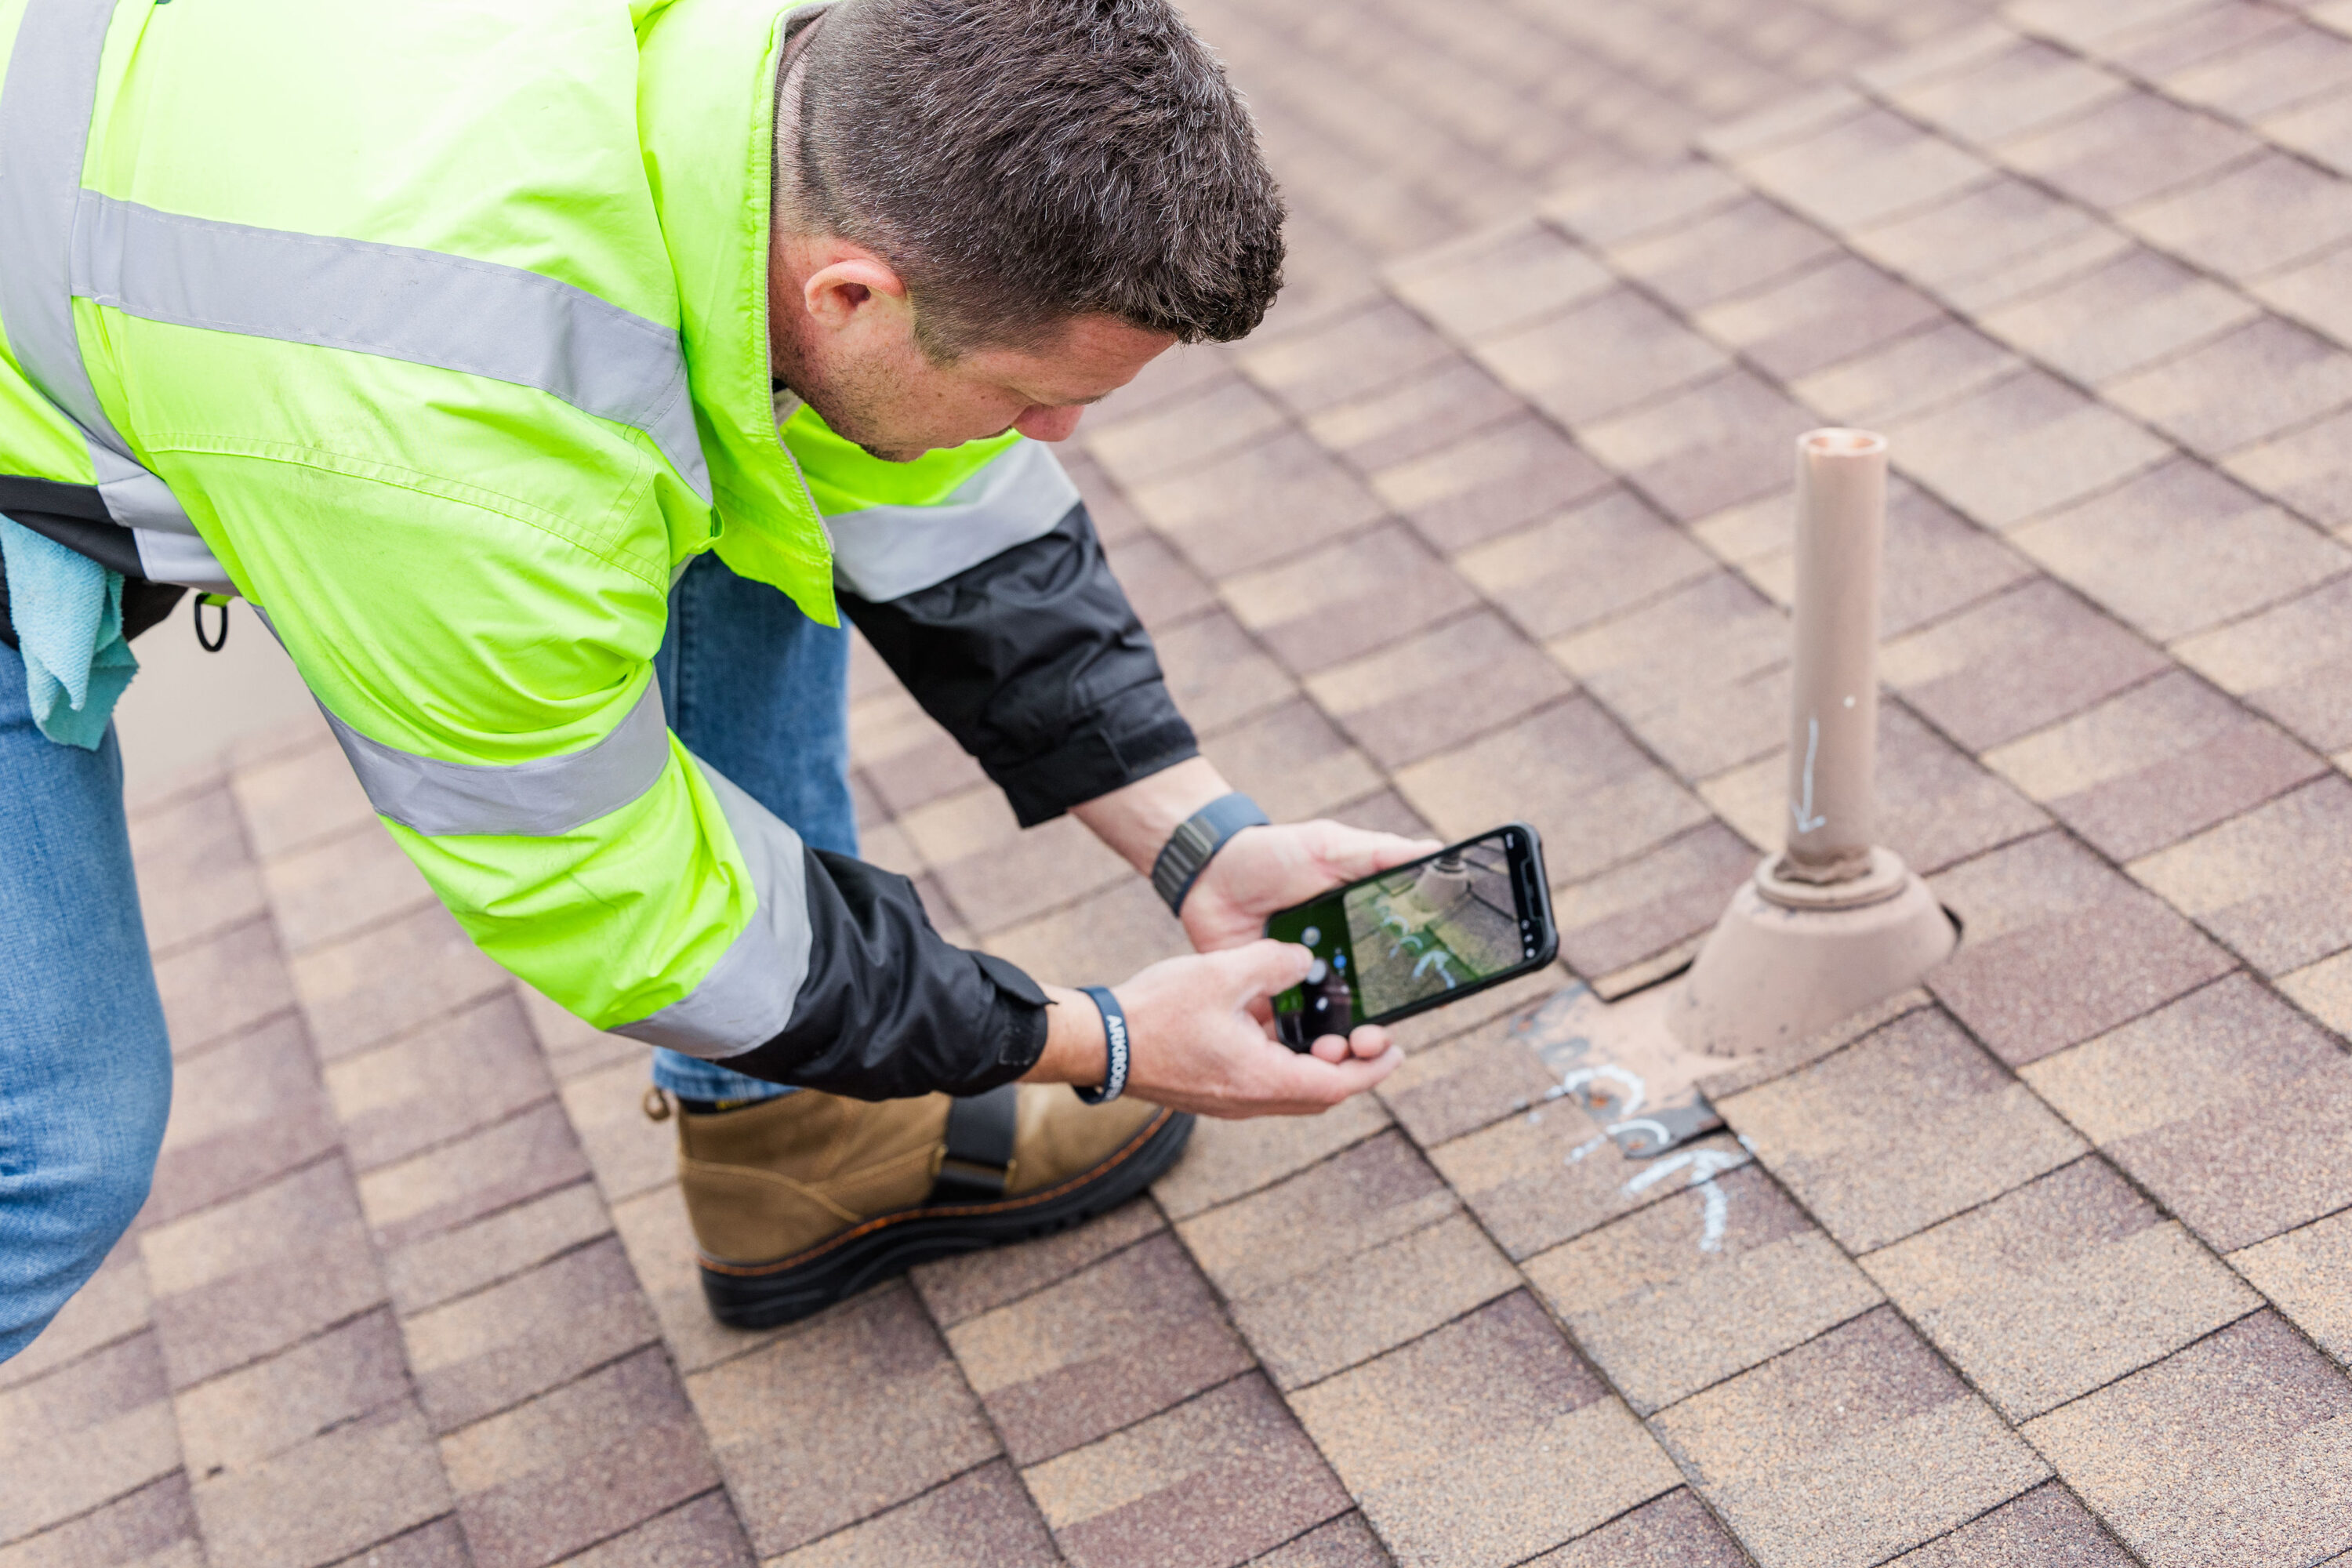
Want To Know The Current Condition Of
Your Roof
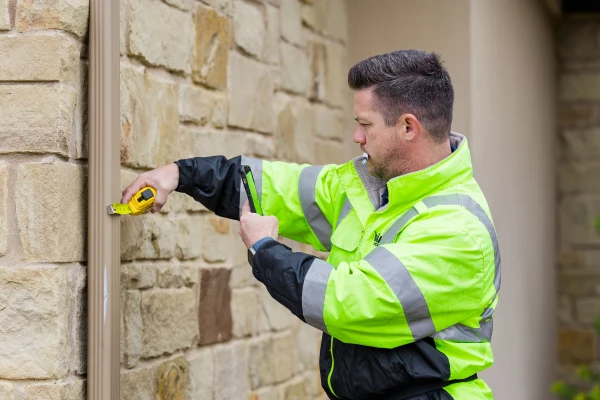
Explore More of Our
Options
Explore our comprehensive home improvement services, including siding, painting, and more, to enhance every aspect of your home’s exterior.
What Your
Neighbors Are Saying?
Austin, TX
Patty L.
This roofing company is by far the most honest and trustworthy company!!! They are so professional and most efficient when it comes to the logistics of a roofing job. Luke sits down and explains everything so completely and in understandable language with displays and choices. Such a kind and caring man! Then when the job is finished David, such a great guy, comes out to inspect the work and he goes over all of it with a fine tooth comb. if there is any follow-up a very efficient man named Tim is right on it scheduling whatever is needed to make things right, whatever it takes. They are so prompt with a response time and take such a concerned and caring attitude. I would highly recommend Ark Roofer!!!!
Shelley B.
Georgetown, TX
Wonderful experience with Ark Roofer. Professional and friendly. My representative was thorough and clear on the procedure. Assured me my 3 cats would be fine with all the noise. Gave me step by step on what to expect. The installers were early and waited until the time quoted to start work. Highly recommend Ark and I will use again in the future if I need to.
Thank you for making this a smooth process.
Ryan S.
Pflugerville, TX
Luke and Josh with Ark Roofer saved my butt! They jousted with the insurance company and got them to pay up. I can’t recommend them enough.
Josh came to my house and gave me a free inspection. He discovered lots of problems I missed when I was on the roof myself. Luke, the owner, got involved once it became clear my situation was a little bit difficult.
They worked with my insurance company to modify the first estimate, which was about 10k short due to the insurance company grossly underestimating costs such as to remove and replace my solar panels.
When it came time to do the re-roof, Ark Roofer worked with our schedule. Keeping the wife happy…Second time they saved my butt!
They were very tidy. They used huge tarps to cover our pool and cleaned up very well afterward.
They used quality architectural shingles and the house looks great.
We couldn’t be happier with Ark Roofer. They killed it! I would absolutely recommend them.
Google rating score: 5.0 of 5, based on 430 reviews
Subscribe Now to the Ark Gazette
Receive Seasonal Tips, Inclement Weather Updates, Regional News, and Exclusive Offers
Ready To Take The First Step Towards
Restoring Your Roof?
No Commitment Required
No Sales Games
No Pressure, Ever


