Essential Steps for Painting Preparation - Ark Roofer
Why Preparation is Key to a Flawless Finish
Here’s how we approach each step of the preparation process.
Step 1: Surface Cleaning and Debris Removal
Dirt, dust, and grime are the enemy of smooth paint. Before any painting project, we thoroughly clean surfaces to remove dust, oils, and other contaminants that could affect the paint’s ability to adhere. For exterior home projects, power washing is often the best way to clear a majority of surfaces (old paint chips, mold, and dirt buildup).
The Power of a Clean Canvas
Step 2: Sanding for a Smooth, Even Texture
Why Sanding Matters for Longevity
Step 3: Filling in Cracks and Repairing Imperfections
Step 4: Priming for Optimal Paint Adhesion
When to Use a Primer and When to Skip It
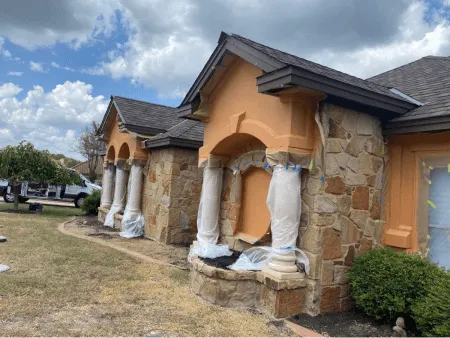
Step 5: Taping and Covering: Protecting Adjacent Areas
Pro Tips for Perfect Taping
Explore More of Our
Services
Explore our comprehensive home improvement services, including siding, painting, and more, to enhance every aspect of your home’s exterior.
Velux Skylights
Siding
Gutters
Painting
Attic Ventilation
Painting
Attic Ventilation
Step 6: Final Inspection and Adjustments
Before any paint is applied, our team performs an inspection to make sure surfaces are prepared. We check for remaining imperfections, loose tape, or dust that may affect final results. This step allows us to catch and correct any issues before painting begins.