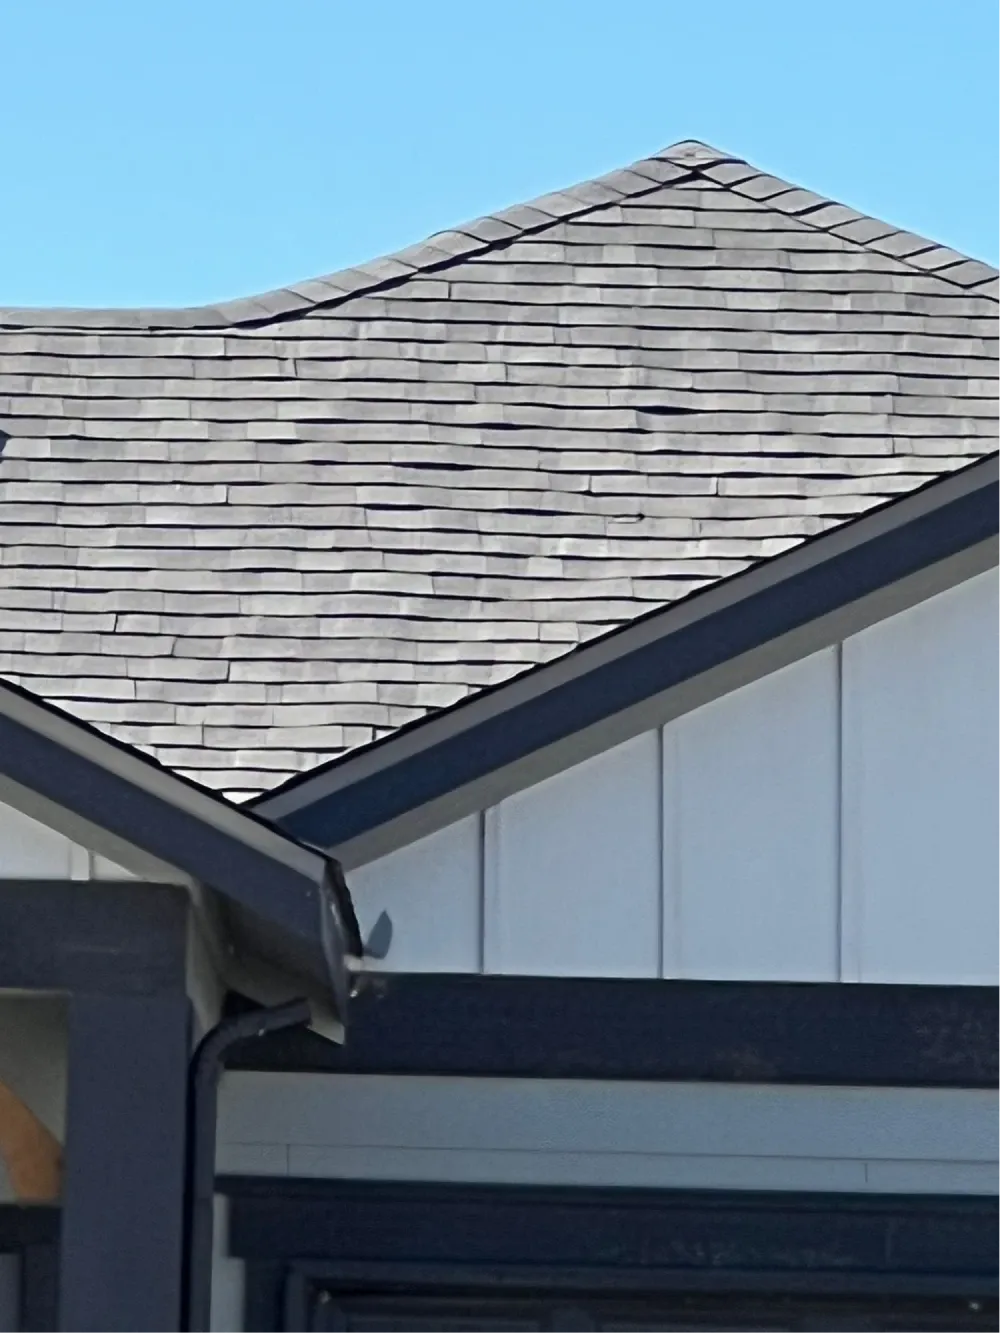
Winter Storms Speed Up Roof Shingle Cupping
Understanding Winter’s Impact on Roof Shingles
Signs of winter-related roof shingle cupping
-
Concave centers with upturned edges
-
Cup-like dips across shingles
-
****Distorted roof surface
Emergency Response to Winter Shingle Cupping
1. Document the Damage
-
Take clear photos of affected areas
-
Note the date and weather conditions
-
Record any interior water stains
2. Contain Water Damage
-
Place buckets under active leaks
-
Use heavy-duty plastic sheeting for temporary coverage****
3. Contact Professionals
-
Reach out to licensed roofing contractors
-
Schedule immediate inspection if structural issues appear
Not Sure Which Shingle Option Is Best For You? Get Help From An Expert Today!
Shingle Cupping FAQs
Cold temperatures can make asphalt shingles brittle and less flexible. This can lead to shingle cupping, where the edges turn upward, creating a concave shape. However, this is often temporary and resolves when warmer weather returns.
Look for concave centers with upturned edges, cup-like depressions across multiple shingles, and visible distortions in the roof surface. These are typical signs of winter-related shingle cupping.
It’s generally not recommended to install shingles when temperatures are below 40°F (4°C). Cold weather can make shingles brittle and prevent proper adhesion. The ideal temperature for roof installation is between 70°F and 80°F.
Yes, curled shingles can often be repaired without full replacement. Clean the curled area, apply roofing sealant, press down firmly, and place a weight on top for 24 hours. However, if the cupping is severe or widespread, professional assessment may be necessary.
Personal Safety Considerations
Managing Curling Roof Shingles in Winter
-
Watch for changes in your shingles’ texture and color
-
Look out for loose flashing and drainage problems
-
****Keep records of repairs for your insurance